Frank Lloyd Wright Virtual Classroom: Compost Bottle Activity
Frank Lloyd Wright Foundation | Sep 30, 2020
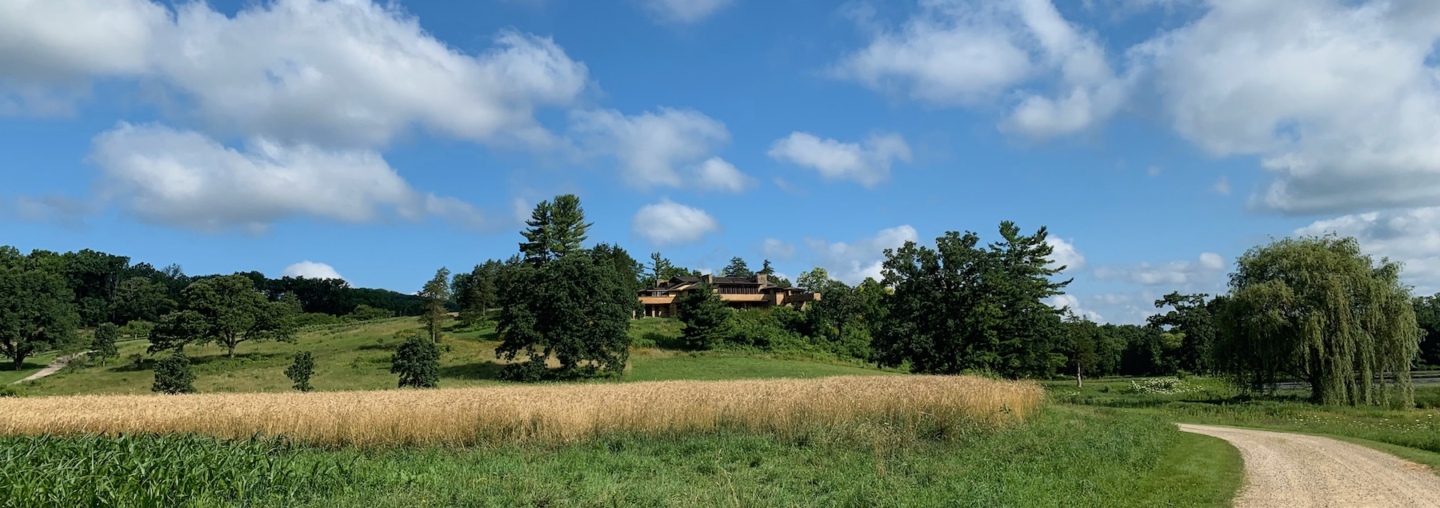
Frank Lloyd Wright was born in Wisconsin where he spent many summers learning to farm in the Welsh hills. Wright would eventually build Taliesin, his famed winter Wisconsin home. Once Wright became a well-known architect, he never lost his passion for nature, farming, and taking care of the land. In fact, he would teach his apprentices how to farm when they joined the Taliesin Fellowship and came to stay at Taliesin. In this activity, you’ll learn how you can take care of the land around you by making a composting bottle or nutrient rich soil that you can use to plant, farm, or garden with.
Materials:
-
An empty, two-liter clear plastic bottle
-
Soil
-
Leaves
-
Grass clippings
-
Newspaper
-
Compostable kitchen scraps (banana peels, ends of asparagus vegetable, outside of onion wrapping, etc.)
Instructions:
-
Any time we are doing a science experiment we want to do some research first on our topic. Follow this article on how making nutrient rich soil works.: Explaining how composting works. Creating nutrient rich soil can be tricky, but our method to creating it should be successful and a fun learning experience.
-
Once you’re finished researching, grab your empty two-liter bottle. Remove any labels from the bottle and cut off the top. Try to make the bottle as clear and see through as possible.
-
Fill the bottom with regular soil. Soil from the ground or out of a bag will work fine.
-
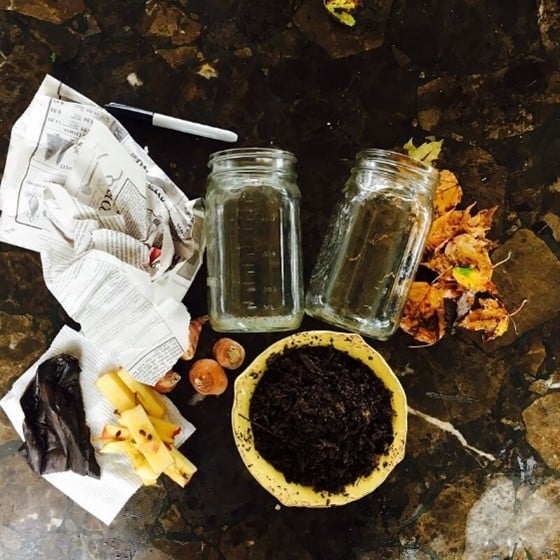
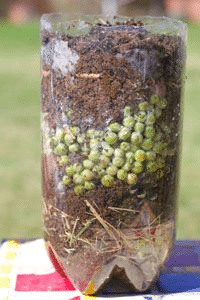
Start to alternate layers in the bottle of just soil and then leaves, kitchen scraps, newspaper, etc. As you move from one layer to the next add a small amount of water to each layer just to make it wet. See the picture below for more details.
5. Once you are done adding the layers and the bottle is full. Place the bottle in the sun away from your house. As the soil becomes more nutrient it will start to smell bad.
6. After you have placed it in a good spot, grab a notebook, make journal pages, and check on your bottle each day. On the first day, take a picture of your creation and save it!
7. Over the next three weeks record your observations in the journal. Ask yourself what is changing in the bottle, what do you see and smell! Please make sure to add just a splash of water to your bottle every day.
8. At the end of 3 weeks you should have rich nutrient soil you can plant with from your composting bottle. Record your final thoughts in your notebook and start planting with your new soil!
9. Take a final picture of your new soil and send both pictures to education@franklloydwright.org
Don’t forget to share your projects with us!
Send images of your compost bottle project that you created from this activity to the Frank Lloyd Wright Foundation Facebook page.
Return to the Virtual Classroom
The Frank Lloyd Wright Foundation is dedicated to providing quality STEAM education experiences to challenge young people around the world to be critical thinkers and creative problem solvers. During this uncertain time, with families around the world keeping their kids engaged in learning activities, the Foundation is proud to offer these lessons and other activities free of charge. Your support helps the Frank Lloyd Wright Foundation keep their staff employed and creating education programs at this critical time, and long into the future.
Support these education programs and the work of the Frank Lloyd Wright Foundation.